Welcome To Burnt Drags ! Your Place For The Latest In Fly Fishing And Tying ! Also Up To The Minute Stream Conditions And Fishing Reports..

Friday, April 15, 2011

Tying The Quill Gordon

        This is a step by step on perhaps one of the most well know dry flies ever tied and fished. Thanks to Theodore Gordon whom brought this fly to light in the late 19th early 20th century.


    You can tye this fly on any standard dry fly hook in sizes 12 down 18 are the best.First start by putting the hook in your vise and start the thread.For this one this one I am using 8/0 black uni thread and tying on a size 12 Mustad dry fly hook. Note the start position of the thread I always start my thread here to set my wings by doing so will keep your wings a consistent hight and will prevent you from crowding the head.


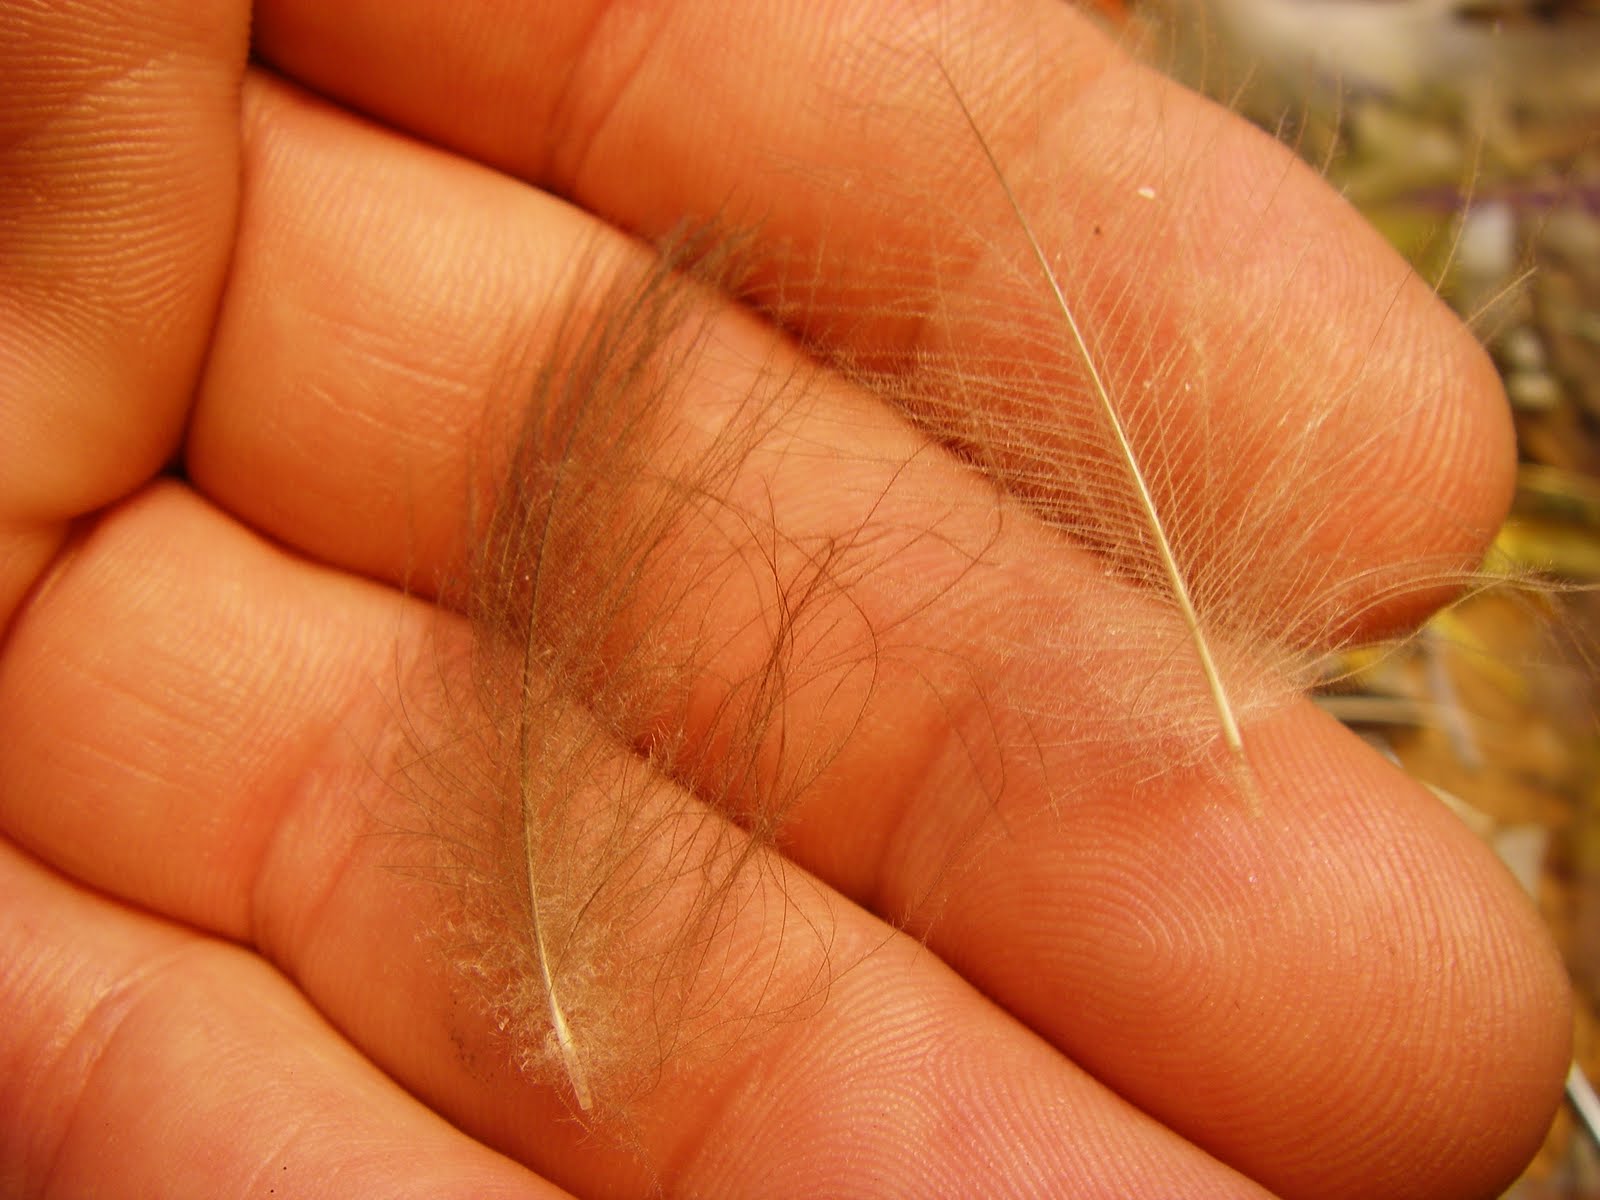
     Next choose a nice lemon wood duck feather strip all the fuzz off the bottom half till you are left with the nice even tips.


        Now stroke all the fibers together to prepare to tye in.

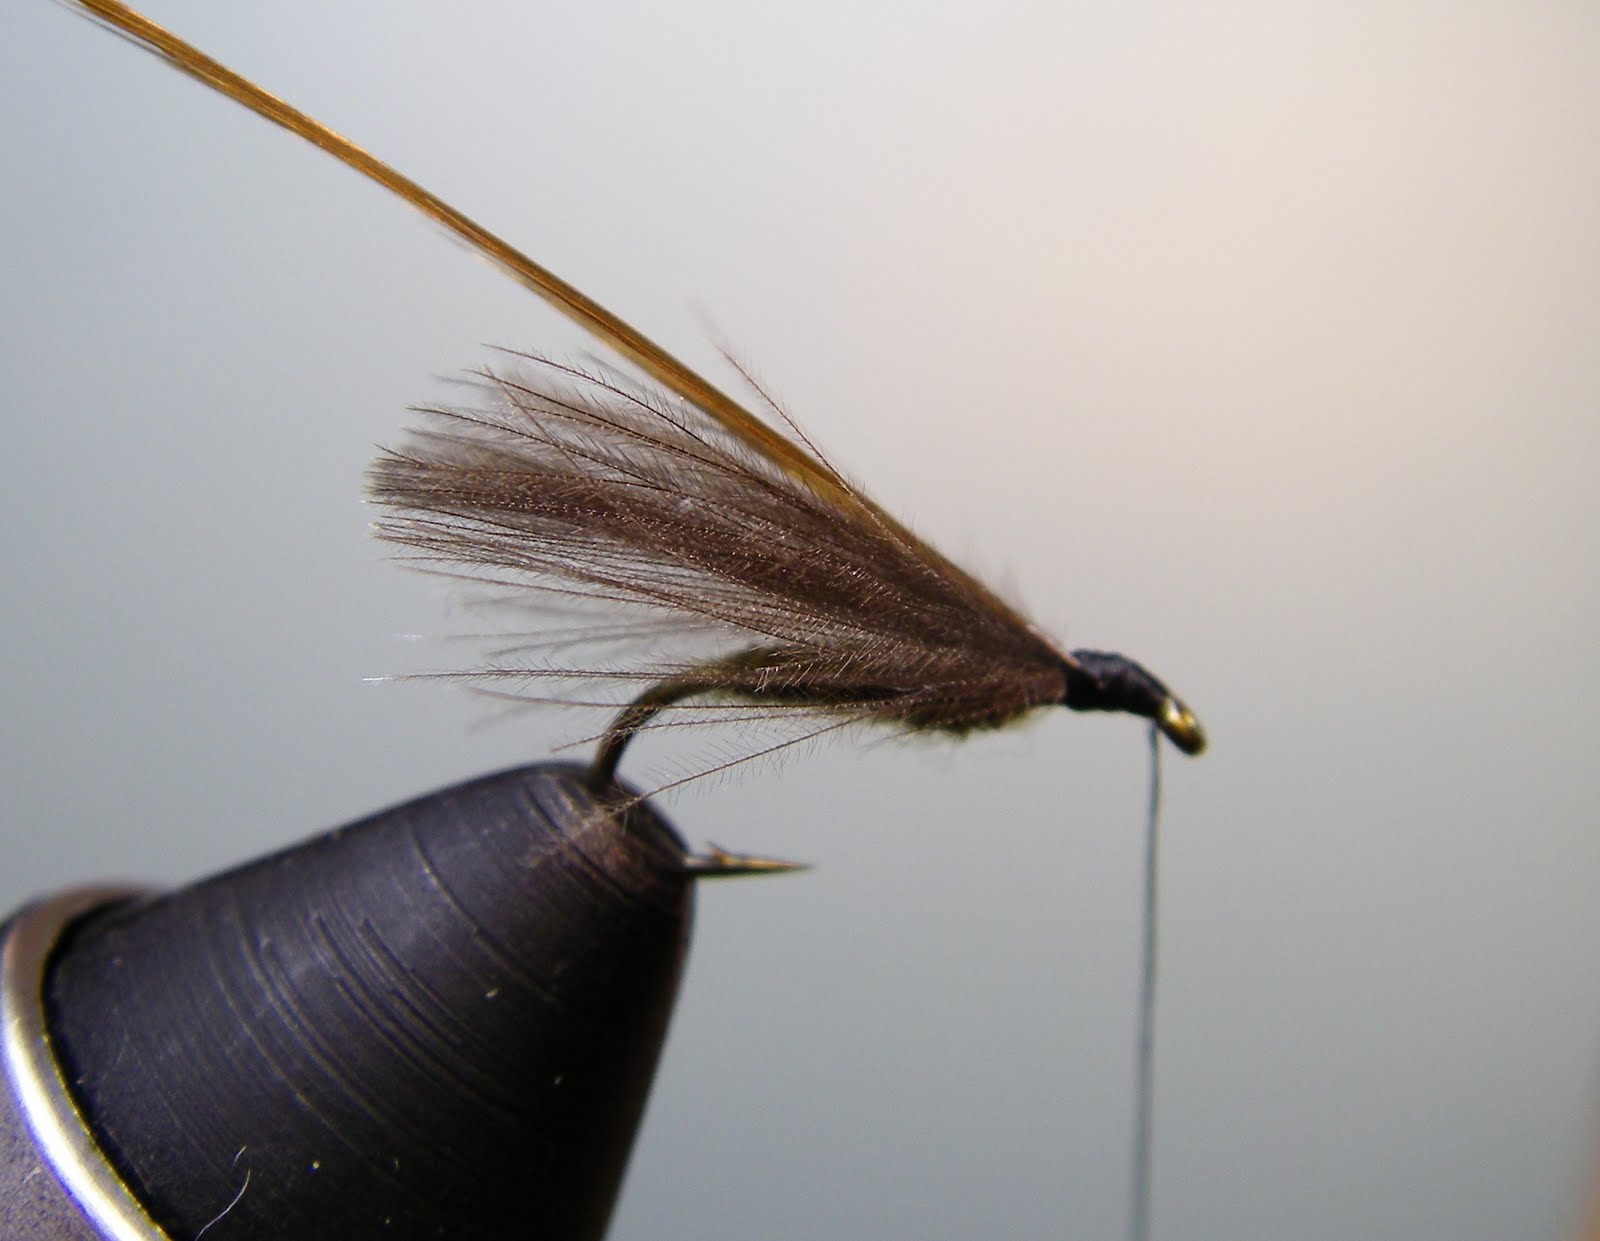
Once you are done making a nice little bundle of fibers it's time to measure your wing up and tye it in. Leave the tips of the feather hang out past the hook eye 3/16ths to 1/4 of an inch.


     After you have tied the wing in with a few secure wraps trim the waste and finish neatly tying it in.

     Now it's time to get the wing standing upright.This is accomplished by grasping the wing and pulling it straight up and wrapping your tying thread in front of the wing . This creates a small dam of thread which helps to hold the fibers up.


 Now that you have your wing standing up it is time to separate the fibers to create two wings.By pulling the wing fibers into two some what even bunches . Pass your tying thread between them using the figure 8 method. This will keep them separated into two wings.

    Once you have your wings divided wrap your thread in nice even wraps towards the bend , stop your thread between the barb and the point of the hook.


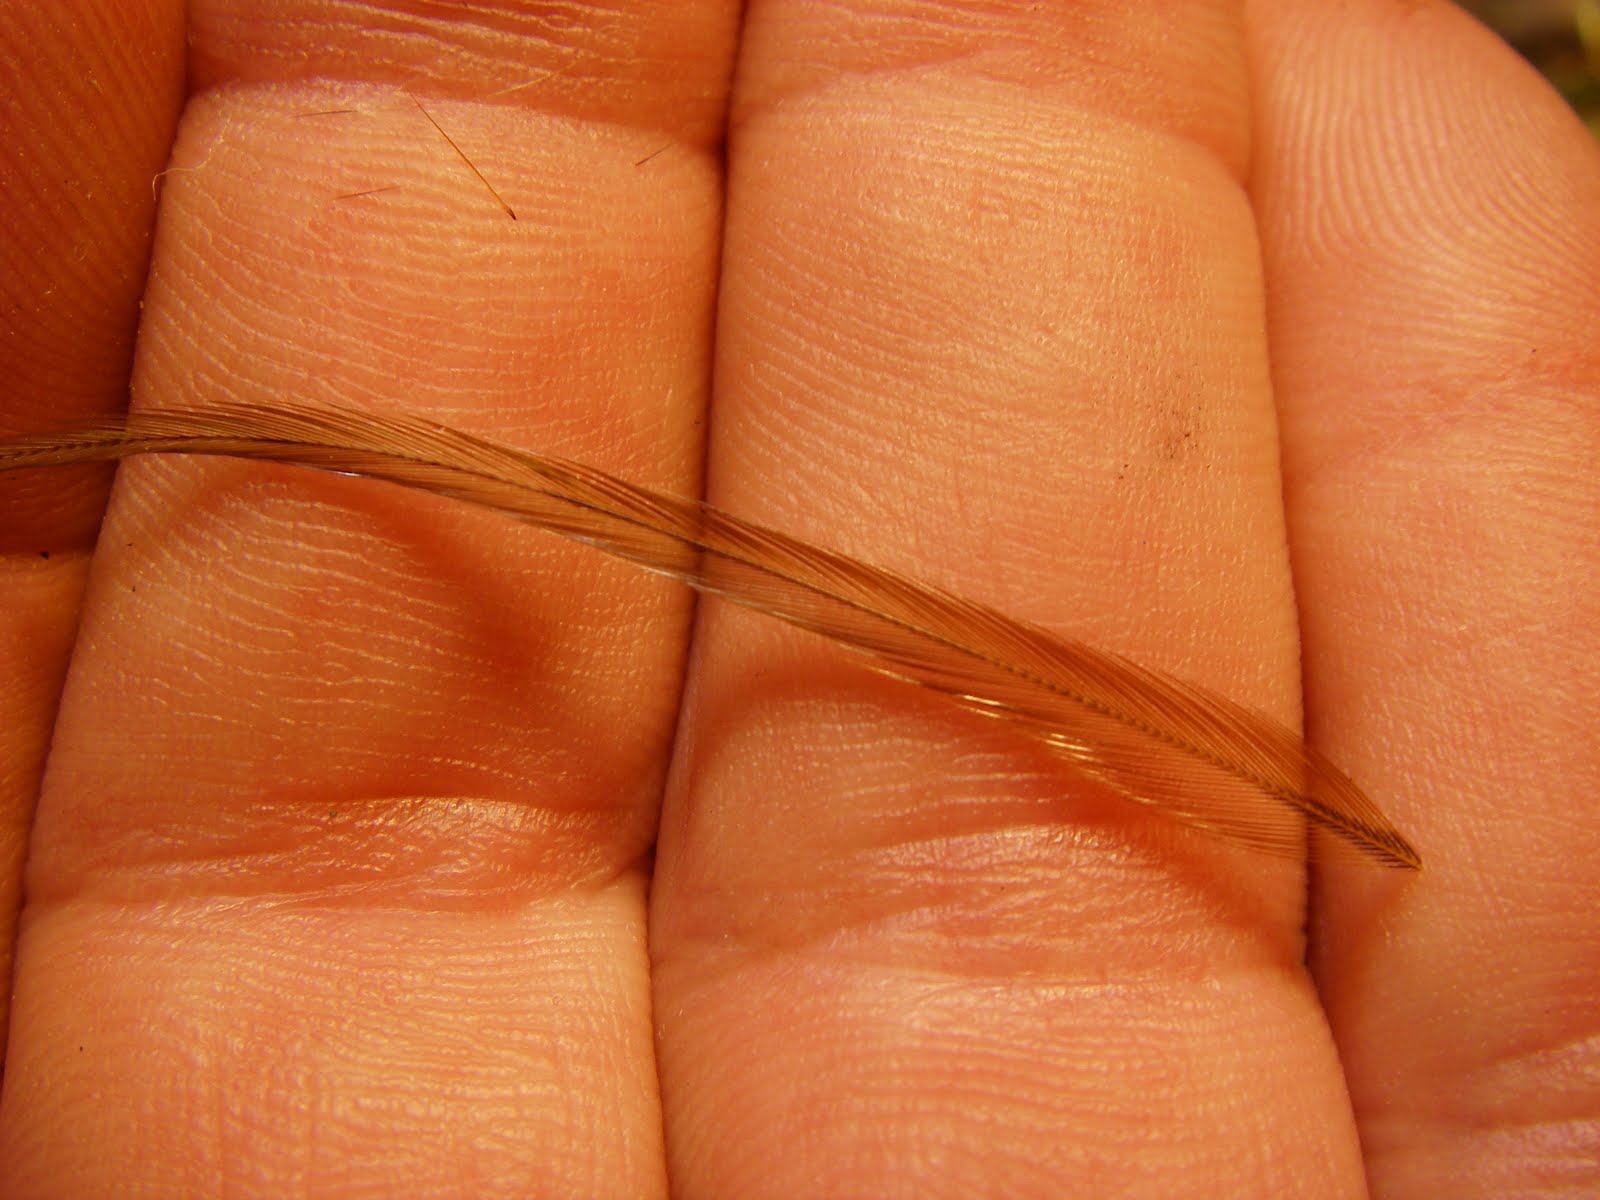
     It's time to tye in the tail good stiff tailing hackle is imperative to get that nice straight tail.I have started using Coq De Leon it comes in an array of colors and provides a nice stiff hackle for tailing dry flies.On this fly I used a dark dun Coq feather and it matches up pretty nice with the hackle I used to tye this fly. Take your feather and pull off enough fibers to create a nice tail.


      Measure up your tail it should be the length of the entire hook.


    Now that you have measured it up trim off the waist end and tye in. When you tye it in hold it up to the fly and tye in so the butt ends blend into the butt of the wing tye in point ,this will give you a nice some what even body profile.


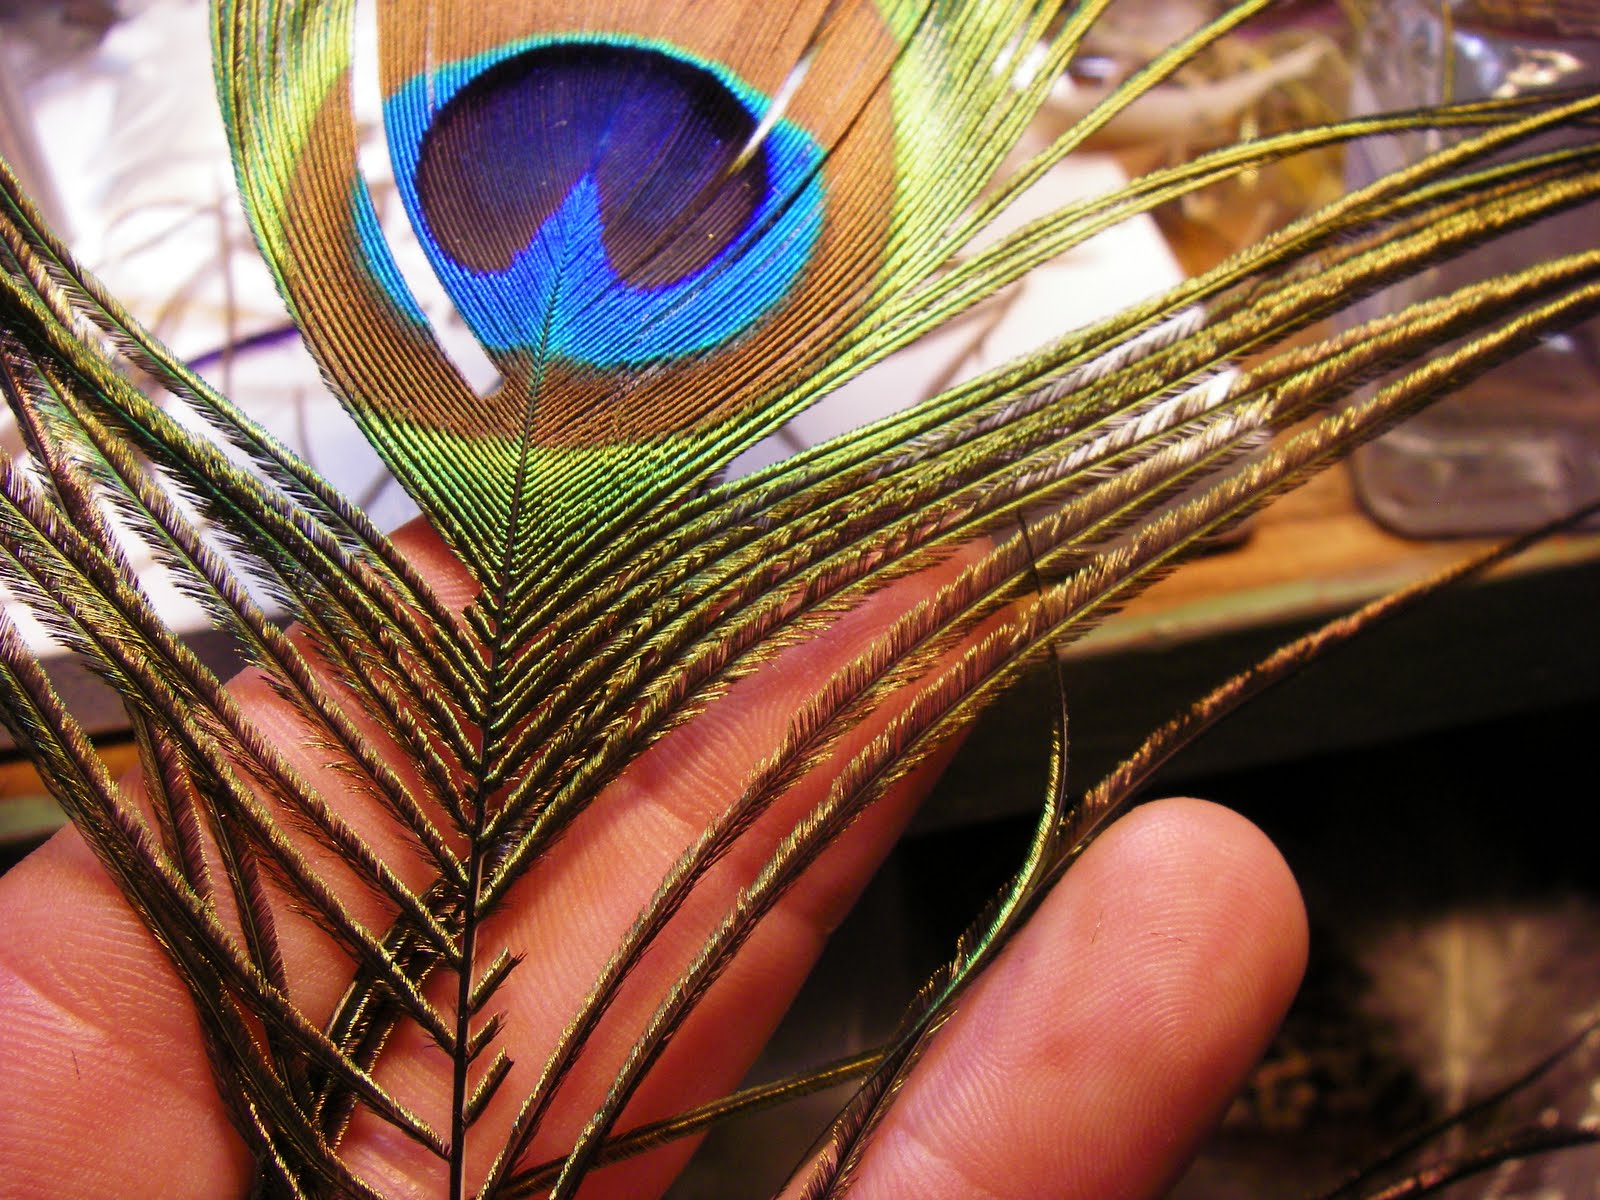
     Now that the tail is tied in it is time to select prepare and tye in a stripped peacock quill. Choose a nice quill from close to the eye of a quality peacock eye feather.To strip these I use my thumbnail and index finger . I pull the quill between them untill all the fibers are removed. You can also use a rubber eraser to do this as well.


   Once your quill is stripped it is time to tye it in and wrap your body.Tye in nice and neat and wrap forward to the thorax area in nice even touching wraps. Tye off and clip the waist end close and there your body is complete.


    Now that the wings , tail and body are done it is time to complete the fly by tying in the hackle.Choose an appropriate size hackle for your fly.If you are not sure of the size use your hackle guage. I am tying on a size 12 hook so I usually use a hackle 1/2 to one full size larger than the hook calls for. In this case a size 12 1/2 to 13 hackle.


    Strip the end and tye in, I like to leave the exposed stem a little long so when you tye it in you catch a little more of it making your fly durable .


  Now it's time to wrap the hackle three to four wraps behind the wing is about right.


   And then two to three turns in front or the wing and tye off. As you tye off hold the hackle vertical to the hook shank this helps to eliminate trapped hackles.


              Trim the waist end and whip finish.


   To finish fly add a touch of head cement to the body and head . Let dry over night and your ready to go fishing.

Monday, April 11, 2011

Easy Stone Fly/ Caddis Dry


      Here is a step by step to one of the easiest and most productive flies I have ever tied . The CDC easy Stone Fly and Caddis imitation all in one. It consist of a nice tapered body of the appropriate color dubbing you need to match the hatch, natural cdc for the wing and dark or rusty dun dry fly hackle for the collar .


     You start by placing the hook in the vise and starting your thread where you want the body to end, This way you won't crowd the head when you complete the fly.


      Now you are ready to dub the body in this case I used dark olive as it matches or mimics the naturals found on my stream.


       Build up a nice tapered body so it appears carrot shaped.


       Now you are ready to set the wing , choose to nice natural color medium to dark gray cdc feathers and match the ends up.


       Now measure the wing up to the hook you want the wing to extend slightly beyond the bend of the hook . If its a little long you can adjust it once you have a couple of good wraps on it to hold it in place.


        Now a couple more good wraps to secure the wing and trim off the waste ends, then a few more wraps to create a platform for your hackle.

       Now it's time to select your dry fly hackle ,usually I will use a hackle that just covers the hook gap for any given size hook I tye this fly on.In this case the hook is a size 16 so a size 14 or a true 16 hackle would be fine.


       Tye the hackle in and put three or four turns of it on starting at the back of the head space and working forward . Leaving enough space to tye off the hackle and finish the head.


          Tye off the hackle, trim the waste give it a few turns to build up the head and whip finish.And you have yourself a super productive fly to fish for either a caddis or stone fly hatch..


      If the fish get picky I will trim the bottom out of the hackle to allow the body to ride flush in the film leaving the wing setting on top.This usually does the trick and induces a take.
      The beauty of cdc is you can pull it under and let it pop back to the surface like an emerger,or you can pull it under and the fish will take it as a drown or emerging insect.


     I like to tye these in sizes 14 down to 18 on a standard dry fly hook , you can change the color of the dubbing as well. The colors I like to use are olive,dark olive , black, cinnamon  and yellow olive . Tye some up and give them a go you'll be glad you did as these flies just flat out fish!


Material List;


Hook size 14-18 standard dry fly hook
Thread 8/0 black uni thread
Body Super Fine dry fly dubbing olive / dark olive
Wing two natural medium to dark gray cdc feathers
Collar dark dun or rusty dun dry fly hackle 3-4 turns

Sunday, April 10, 2011

Spring Steelheading The Salmon River


        John K.,Rich ,Joe s. and myself headed to the Salmon River last weekend to get into some spring steelhead before the regular trout season begins . Rich was super excited as the last we fished he picked up my spey rod to cast and discovered he liked it a lot. So much that when he returned home from the trip he purchased a blank and built himself a beautiful spey rod.


       We all met at my house on Friday evening and departed from here . When Rich pulled in we loaded up all our gear and hit the road and arrived in Pulaski at 2:30am.We moved our gear into the room and set up our rods so we were ready to hit the water in the morning.As you can imagine 6am came rather quick , no sooner my head hit the pillow the alarm went off.


      After everyone was finished with the morning duties we got our waders on and headed out. It was a beautiful crisp morning with lots of sunshine and a distinct chill in the air.We walked across the field and down to the first spot of the day located in the upper fly zone.When we got to the water I was surprised to see no one was fishing the tail out so we set up shop here.


     Rich was itching to cast his spey rod so we let him step in first on the hole this would allow him first shot on any players in this spot. After making two or three cast Rich was hooked up with a beautiful male steelhead in full spawning color. It took him a few minutes to land and was well worth the wait! He was so stoked breaking in his new rod in this quick on such a gorgeous fish.It came to a black and chartreuse marabou spey .And as you can see in the picture the smile says it all.. He's hooked on spey fishing !!


      Joe was next up to bat and caught several nice steelhead swinging olive woolly buggers . He is relatively new to the spey game and is doing quite well with it. He is making beautiful cast and hitting all the productive water resulting in a number of hook ups and landed fish.Below are some pictures of the steelhead he took on the trip .Way to go Joe !


        We all watched as John methodically worked his way through all the pocket water which he enjoys doing . But I think he will soon be picking up a spey rod upon seeing how productive it can be.John hooked into numerous fish but all came unbuttoned before coming to hand. As he said it was still a great time and this is why they call it fishing not catching..... Can't wait to do it again as I know John will be holding more than his share of fresh caught steelhead, this guy is a fish magnet


        I managed a few hook ups and landed one fresh hen steelhead for the trip . I for one wasn't expecting a lot because the spawn was beginning and the fishing gets tougher as it progresses.The fish are just not that interested in feeding so you have to fish hard to find the aggressive ones, or some fresh fish that moved in to spawn that haven't gone into full mode yet.


           What a great time we all had with the jokes, friendly banter and a beer or two cases. Throw in some sweet water a few fish  and you've got the makings of a well spent weekend! It surely doesn't get any better!!


                               For the win Jim Beam and Yuengling Black and Tan!