
 Today we'll show you another one of my favorite ties.This one matches the hatch for the blue winged olives here in the Northeast or anywhere for that matter.This pattern can be tied in sizes 14 down to a 24 and works particularly well in a size 20.
 The one I'm showing you today is tied on a size 20 TMC 100.
Place your hook in the vise and start the thread , We are using Uni olive 8/0 to avoid build up.

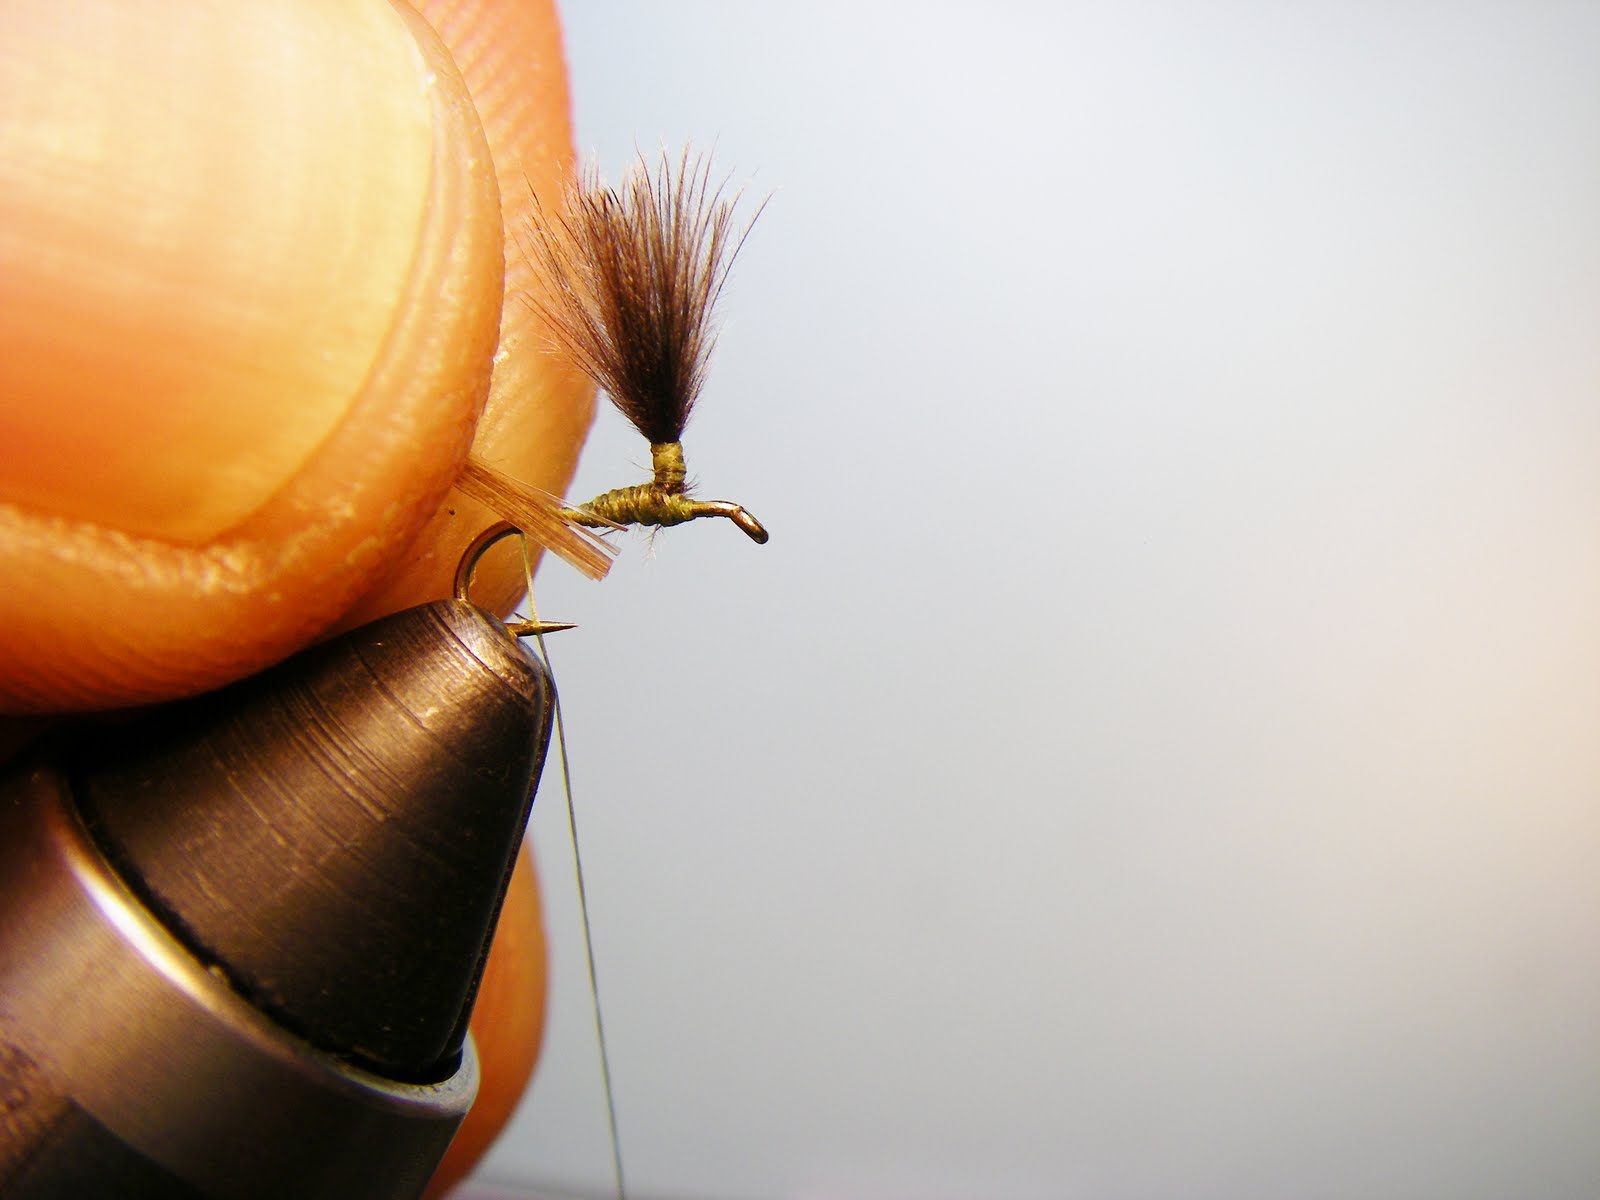
Next pick two nice medium to dark dun cdc feathers and tie them in.These will be your wing post when finished.


A couple of firm wraps to hold in place and trim the waste.


Now you are ready to stand the post up , take the cdc and pull it straight up . Make several wraps in front of it building a dam of thread up to hold it up.


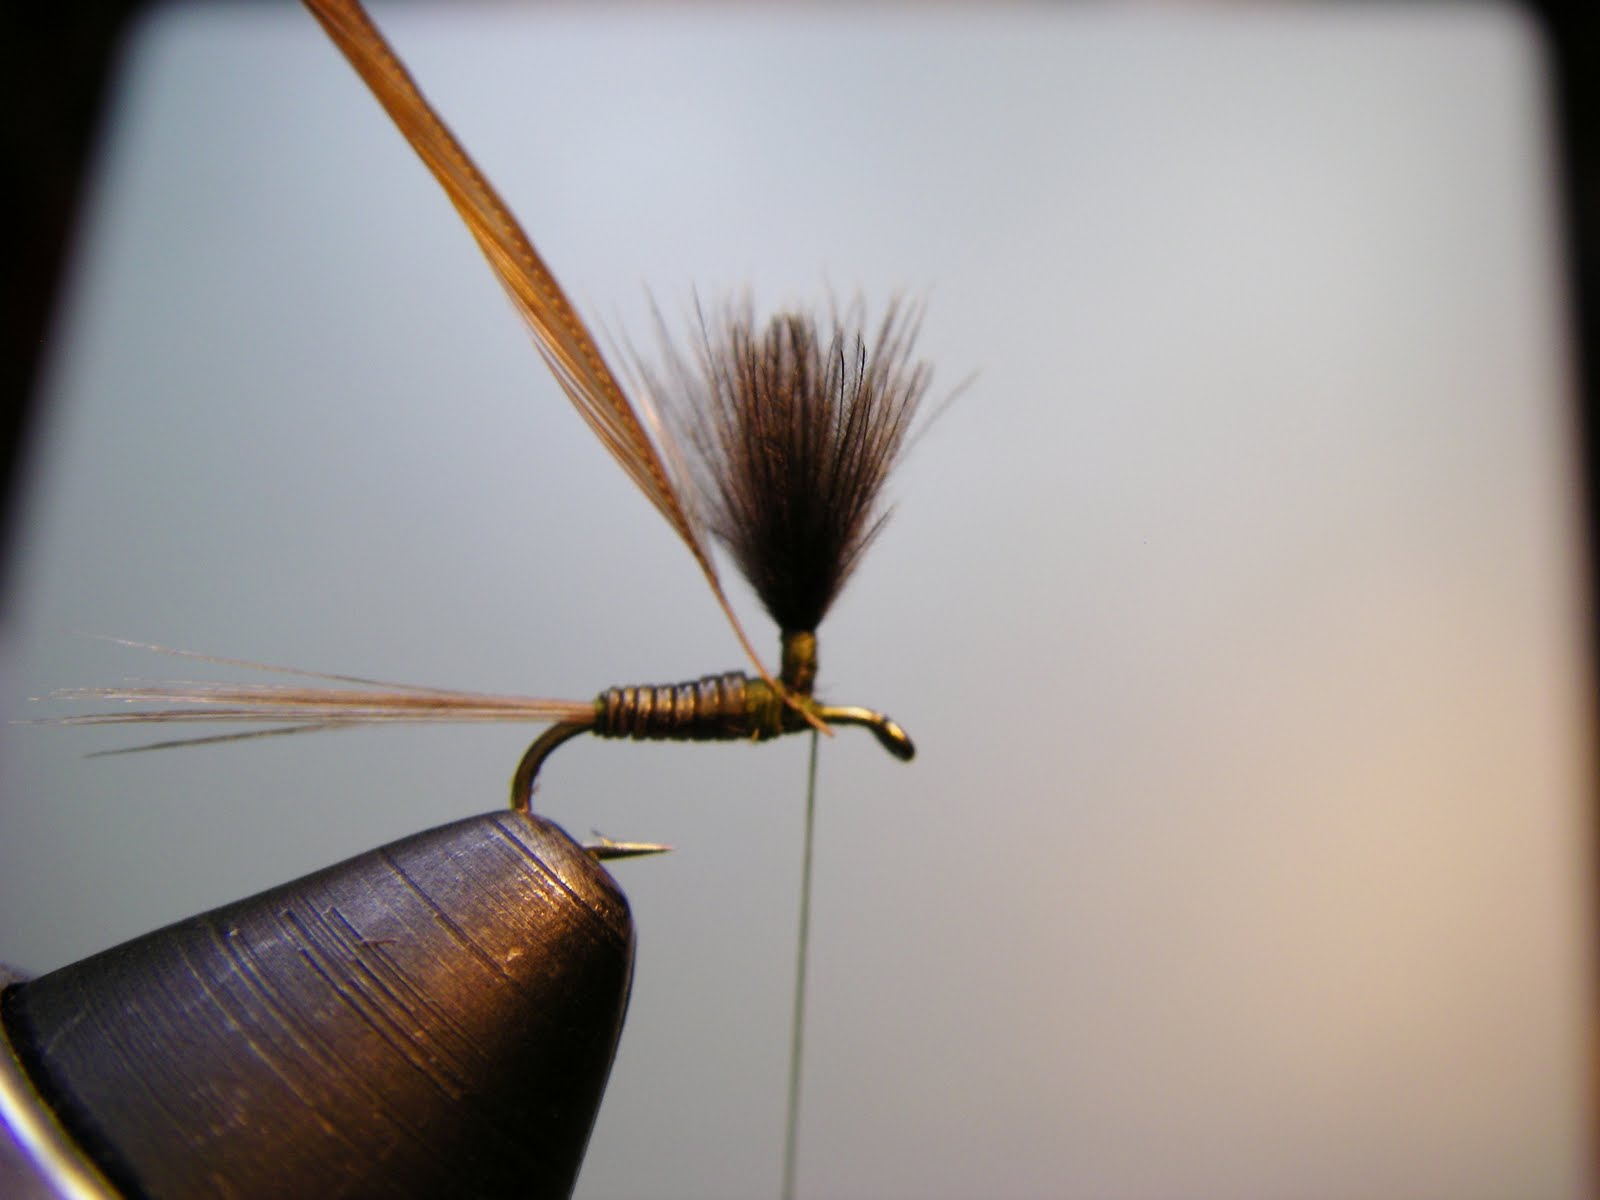
Now that the your post is standing upright we'll take several wraps around it to reinforce it.


Continue with nice even wraps to the back of the hook. At this point I like to add a touch of head cement to stiffen the post up.


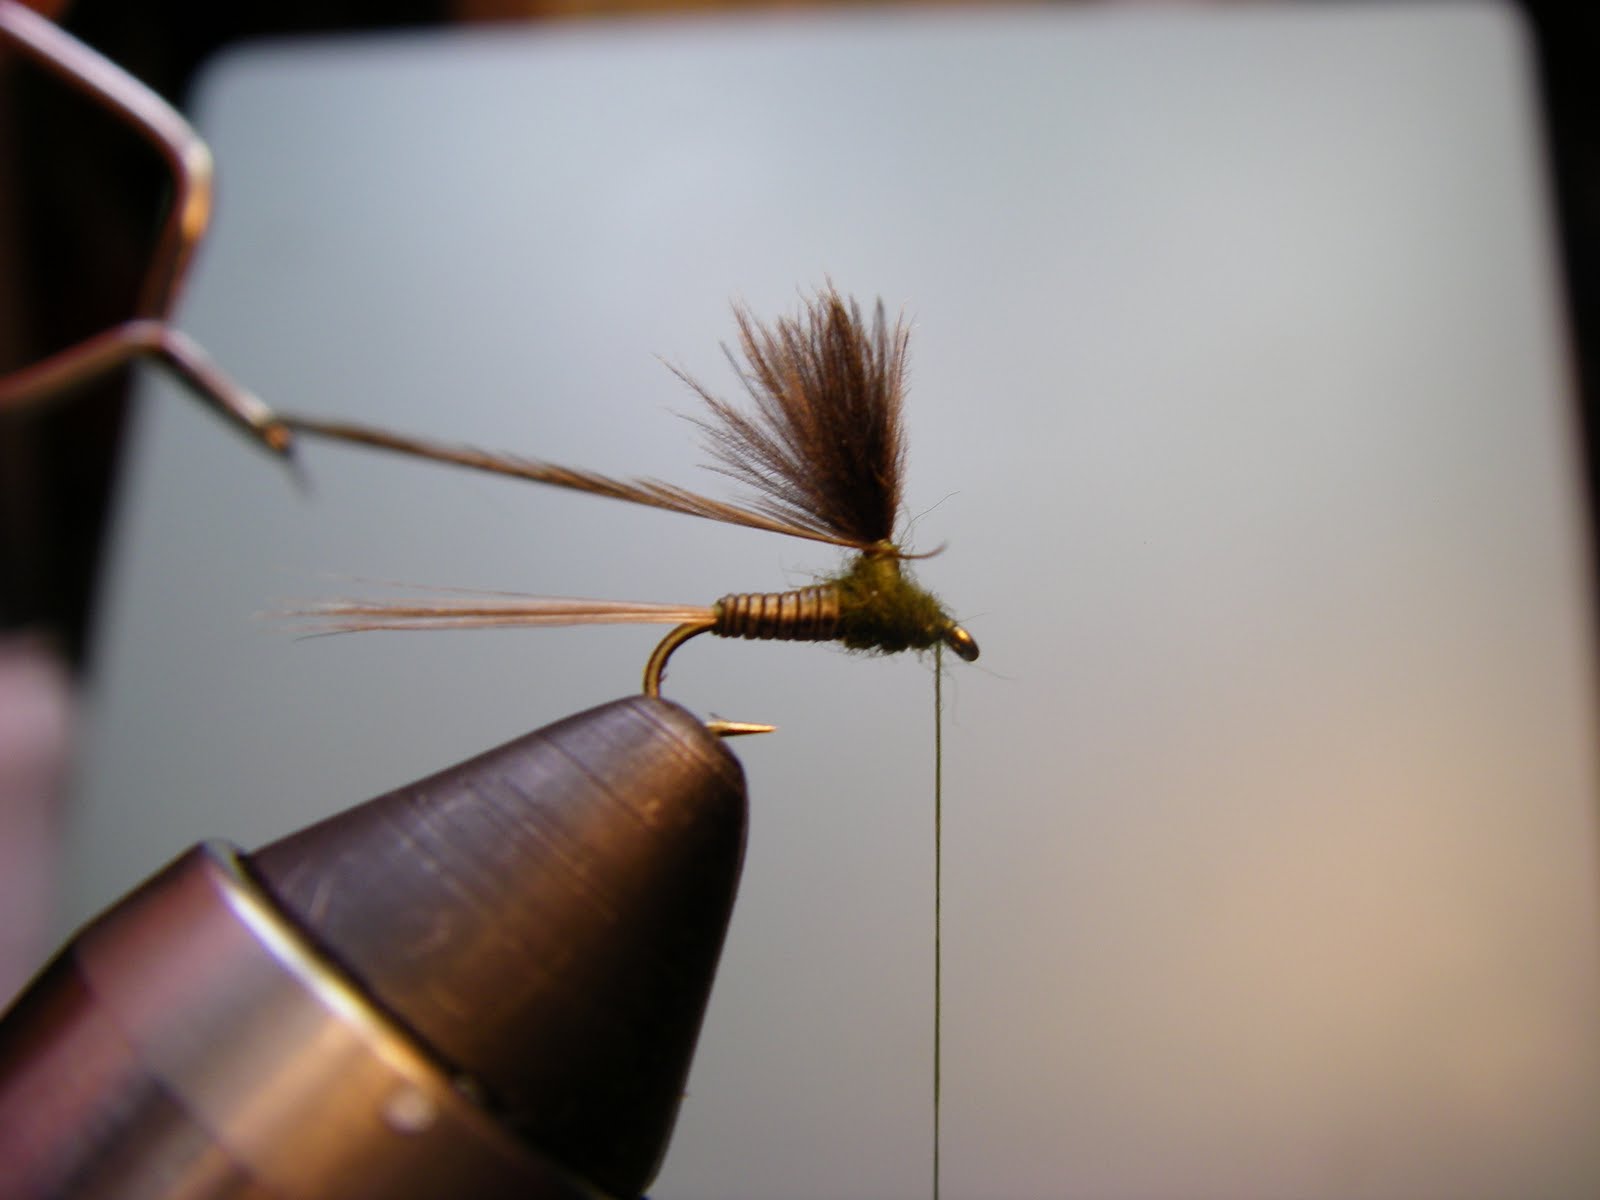

Tie off the hackle behind the hook eye and trim waste.


Nice pattern, I always have issues with doing parachutes but this looks like a killer
ReplyDeleteGreat step by step, i will definatly give it a go ;)
ReplyDeletethanks. really enjoyed your method. nice tie.
ReplyDeleteGood looking flies.
ReplyDeleteThanks for the instruction.
Thank you all glad you like the step by step. Trying to include a lot of pictures so you can see how each step goes.
ReplyDeleteTop shelf bug and great photos! Thanks.
ReplyDeleteallen this is a great blog keep up the good work...
ReplyDeleteThanks Al. Great instructions and pics! Will definitely tie up a few of those. SHould come in handy soon.
ReplyDeleteGreat pattern! I am always on the look out for easy BWO patterns.
ReplyDeleteThannks!
Excellent tutorial! Your blog is really turning out great
ReplyDeleteNice lookin' fly!! I will be out amongst the BWO's on Wednesday... : )
ReplyDelete