

You can tye this fly on any standard dry fly hook in sizes 12 down 18 are the best.First start by putting the hook in your vise and start the thread.For this one this one I am using 8/0 black uni thread and tying on a size 12 Mustad dry fly hook. Note the start position of the thread I always start my thread here to set my wings by doing so will keep your wings a consistent hight and will prevent you from crowding the head.

Next choose a nice lemon wood duck feather strip all the fuzz off the bottom half till you are left with the nice even tips.


Once you are done making a nice little bundle of fibers it's time to measure your wing up and tye it in. Leave the tips of the feather hang out past the hook eye 3/16ths to 1/4 of an inch.


Now that you have your wing standing up it is time to separate the fibers to create two wings.By pulling the wing fibers into two some what even bunches . Pass your tying thread between them using the figure 8 method. This will keep them separated into two wings.


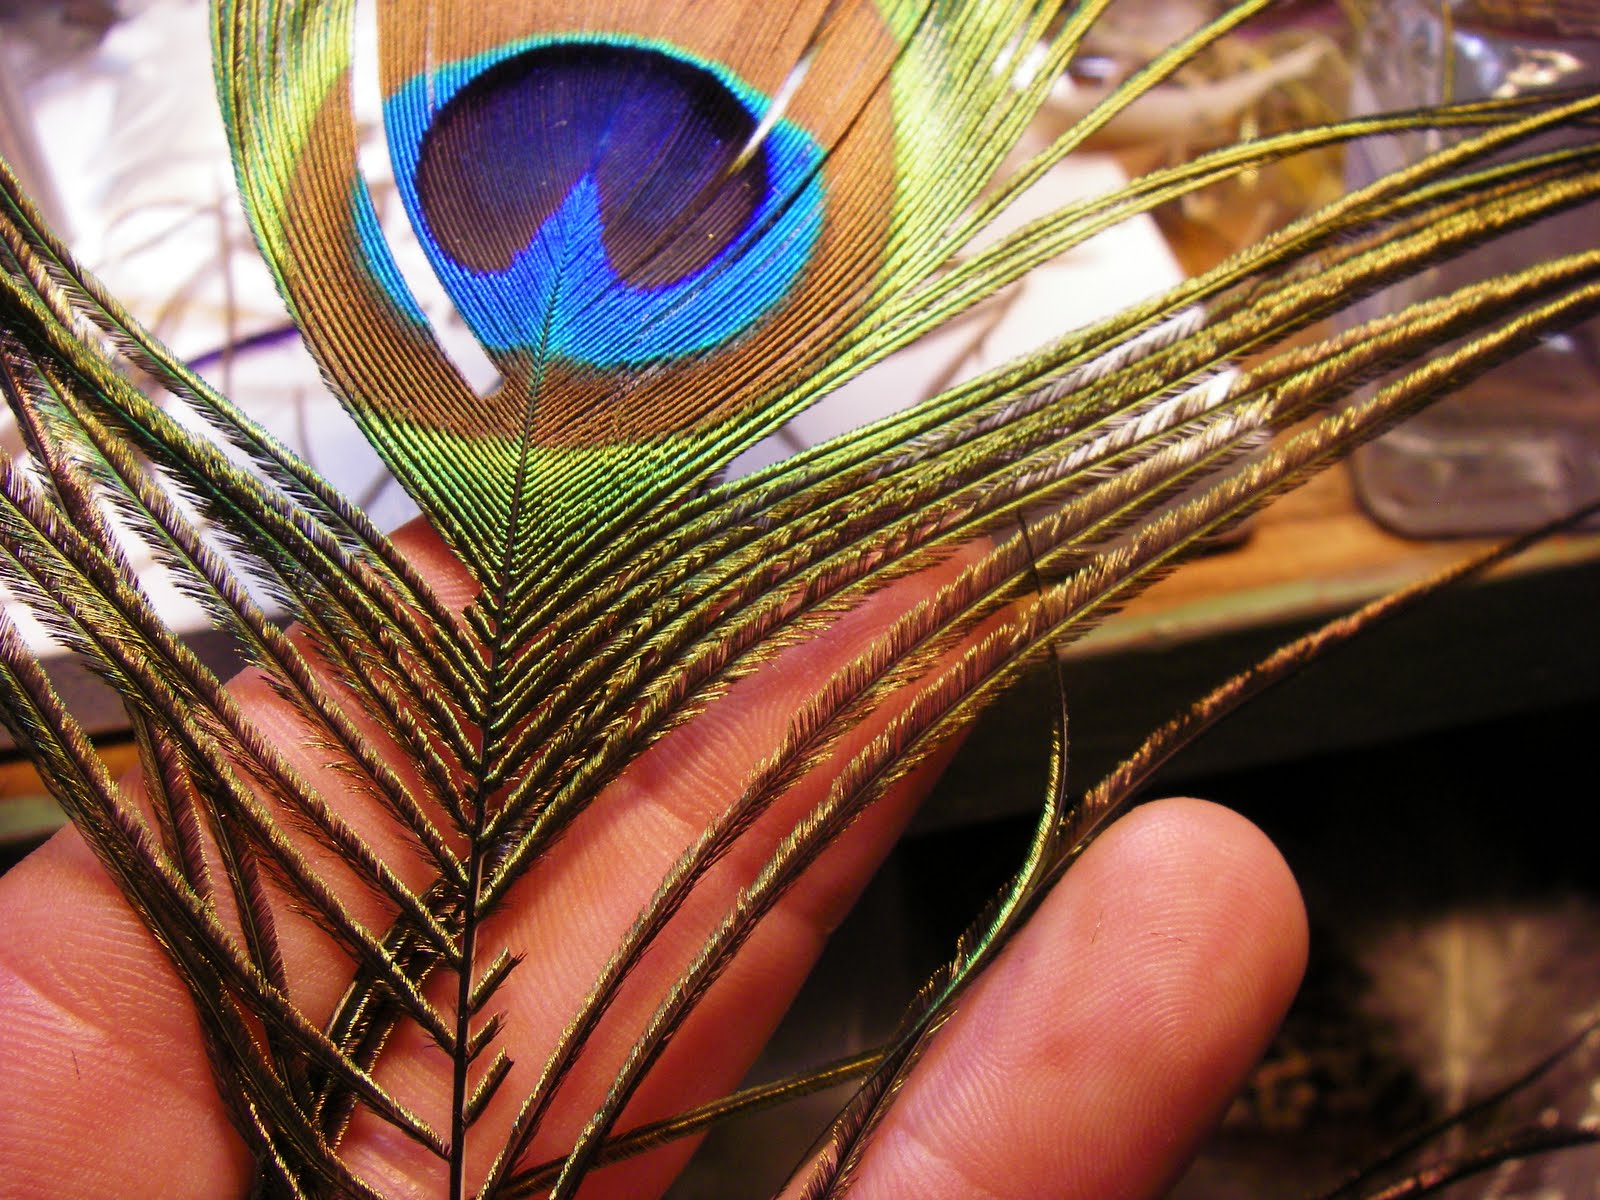
Now that you have measured it up trim off the waist end and tye in. When you tye it in hold it up to the fly and tye in so the butt ends blend into the butt of the wing tye in point ,this will give you a nice some what even body profile.


Now that the wings , tail and body are done it is time to complete the fly by tying in the hackle.Choose an appropriate size hackle for your fly.If you are not sure of the size use your hackle guage. I am tying on a size 12 hook so I usually use a hackle 1/2 to one full size larger than the hook calls for. In this case a size 12 1/2 to 13 hackle.

Strip the end and tye in, I like to leave the exposed stem a little long so when you tye it in you catch a little more of it making your fly durable .


Now it's time to wrap the hackle three to four wraps behind the wing is about right.


And then two to three turns in front or the wing and tye off. As you tye off hold the hackle vertical to the hook shank this helps to eliminate trapped hackles.


Lovely fly al as usual. Top notch step by step too
ReplyDeleteExcellent how to post.
ReplyDeleteA classic Catskill pattern very well done.
Thank you Jamie and Brk Trt! It's a lot of fun putting these together I'm glad you like it!
ReplyDeleteGreat instruction, thanks. If I wanted a Red Quill, is it just using a different rib rather than the peacock?
ReplyDeleteHello Agiocochook,
ReplyDeleteYes you would tye a red quill the same way but using a stripped road island red hackle quill. Or you can purchase stripped dyed quills just be sure to soak them before tying. This will keep them from splitting, let the fly dry overnight and give it a good coat of head cement on the body.
Allen